How to Install Hardwood Flooring: DIY Step-by-Step Guide
Save thousands by installing hardwood floors yourself. Our detailed guide covers tools, preparation, installation, and finishing.

Table of Contents (7 sections)
Tools You'll Need
Gather a flooring nailer, miter saw, tape measure, chalk line, pry bar, and safety equipment before starting.
Step 1: Prepare the Subfloor
Ensure your subfloor is clean, level, and dry. Use a moisture meter to check levels.
Step 2: Acclimate the Wood
Let your flooring acclimate in the room for 3-5 days before installation.
Step 3: Plan Your Layout
Snap chalk lines and dry-fit the first few rows to check alignment and plan cuts.
Step 4: Install the First Row
Face-nail the first row, keeping a 1/2-inch expansion gap from walls.
Step 5: Continue Installation
Use the flooring nailer to blind-nail subsequent rows. Stagger joints by at least 6 inches.
Step 6: Finishing Touches
Install transitions, baseboards, and quarter round. Apply finish if using unfinished hardwood.

Former contractor turned flooring journalist. Mike brings a practical, hands-on perspective to flooring reviews and buying guides.
Related Articles
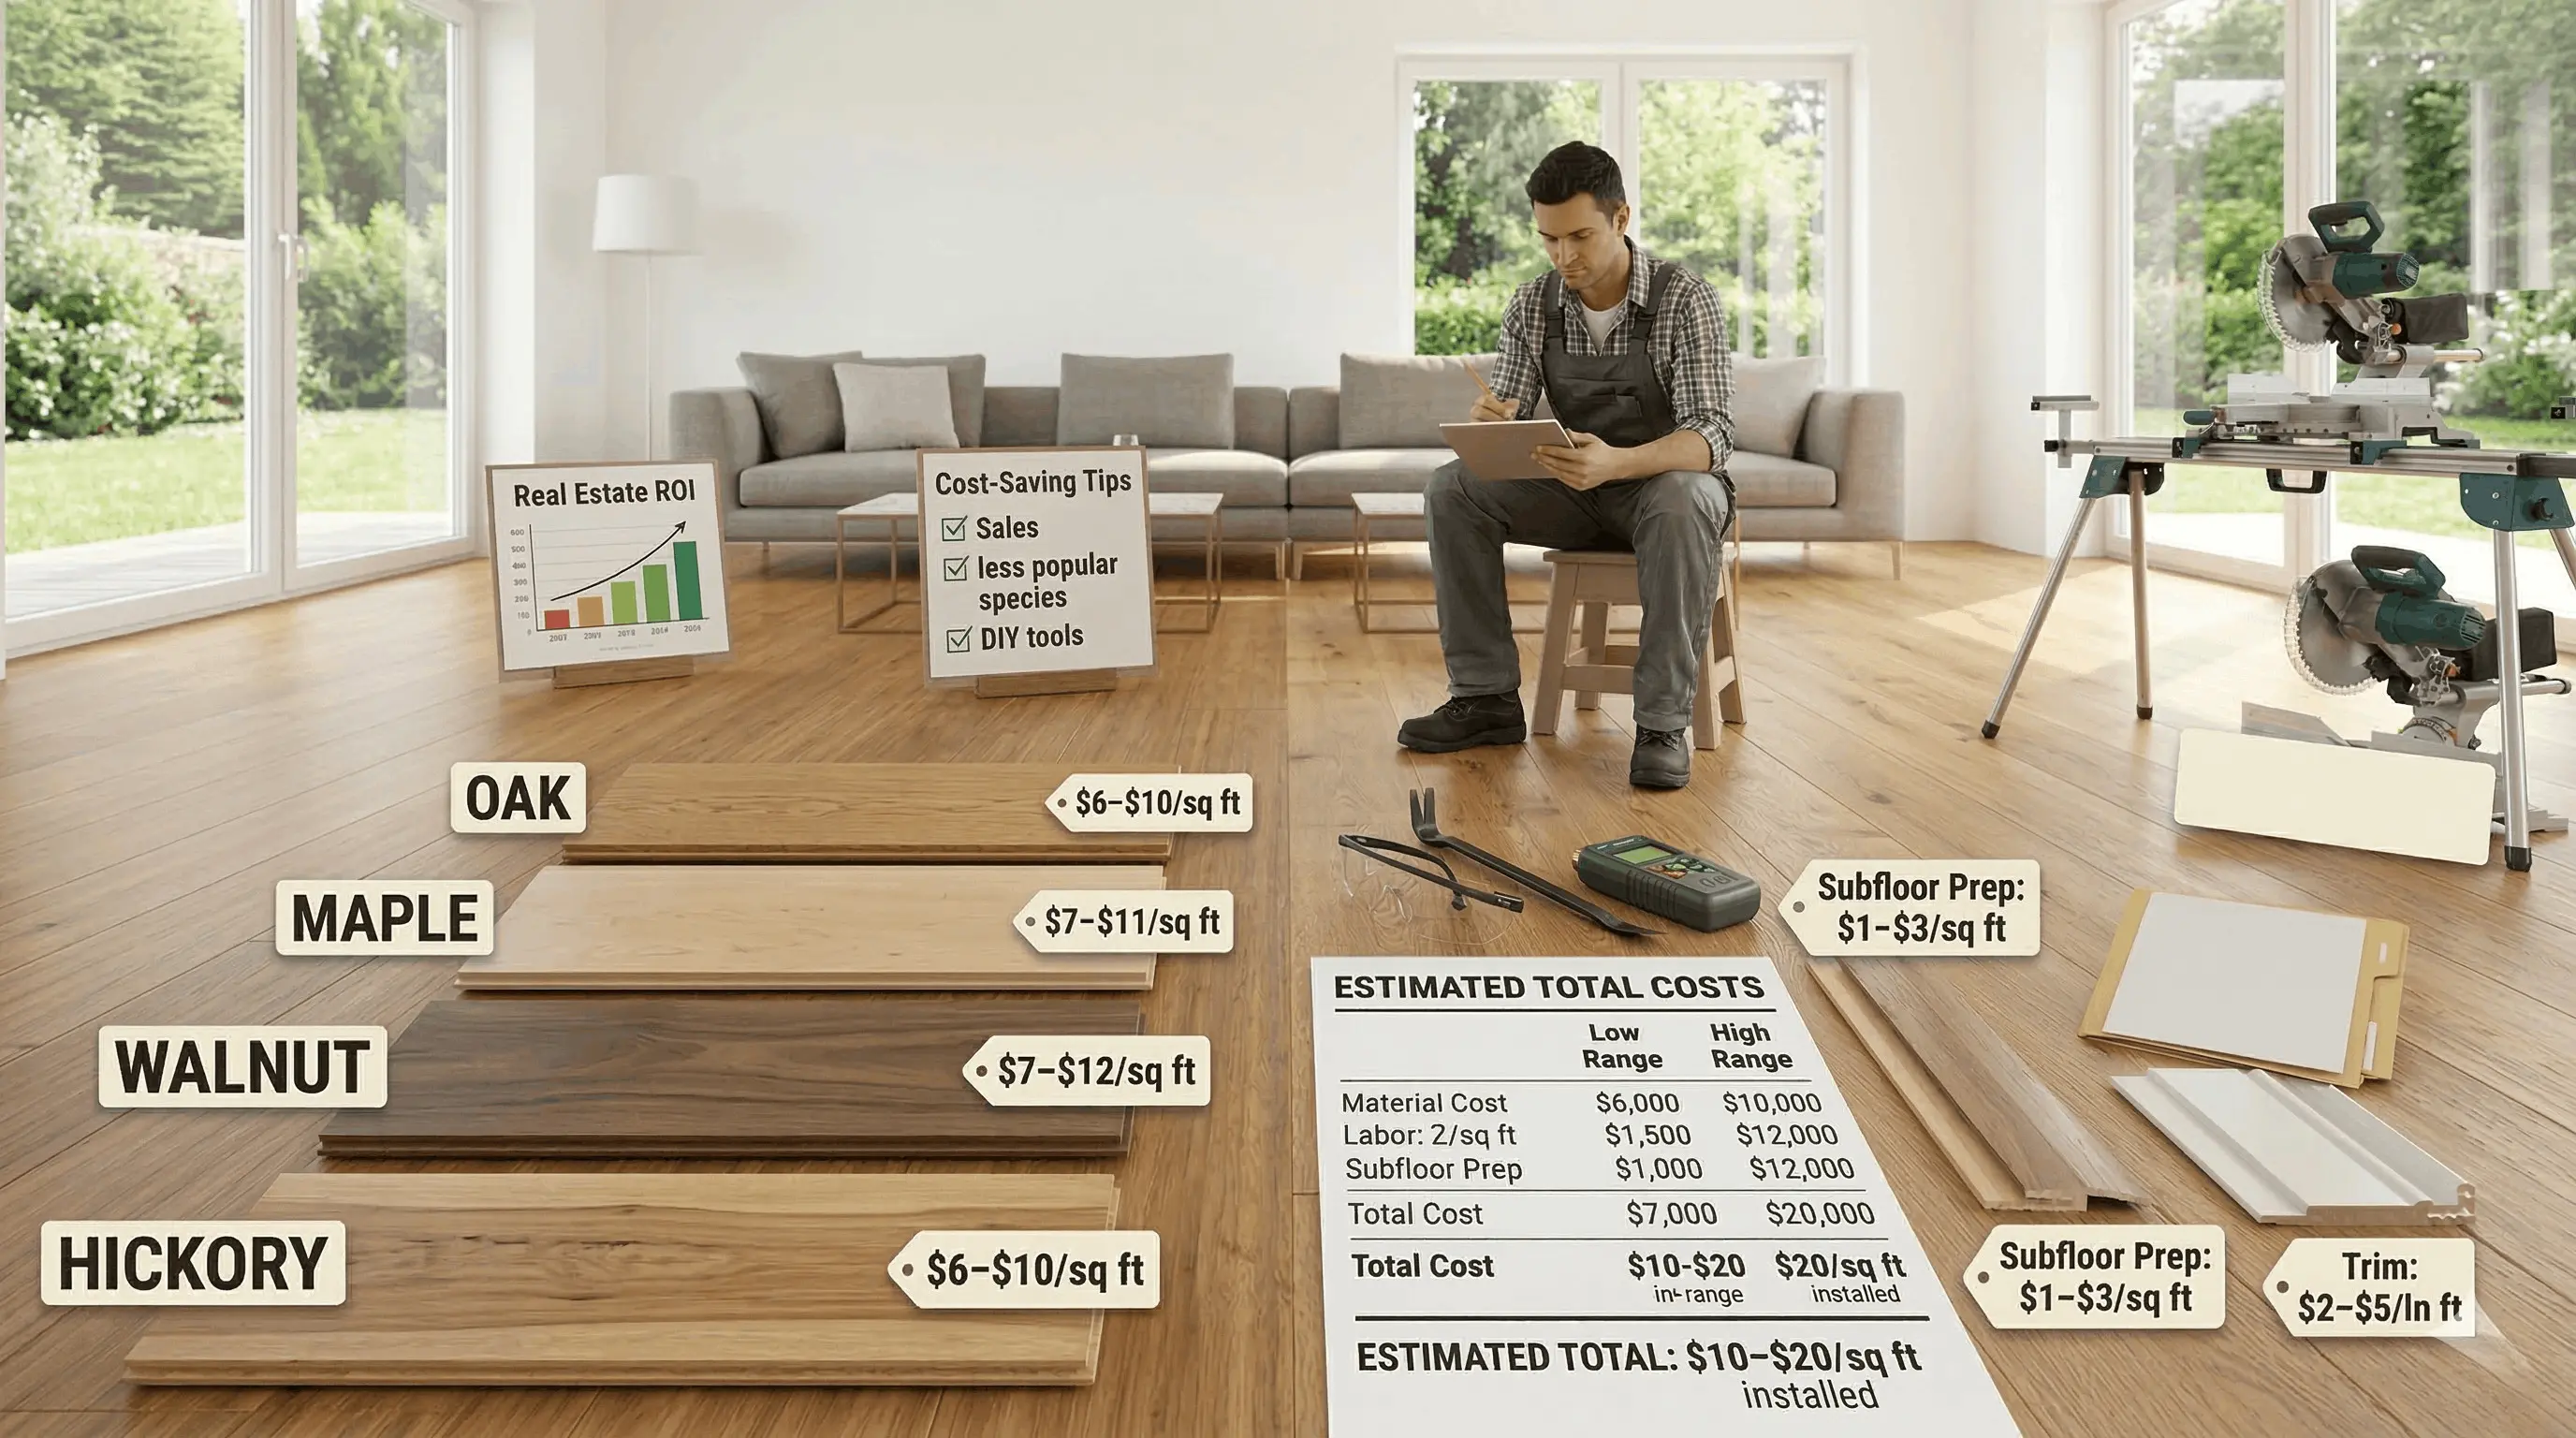
How Much Does Hardwood Flooring Cost in 2025?
A comprehensive cost breakdown for hardwood flooring including materials, installation labor, and additional expenses to budget for.
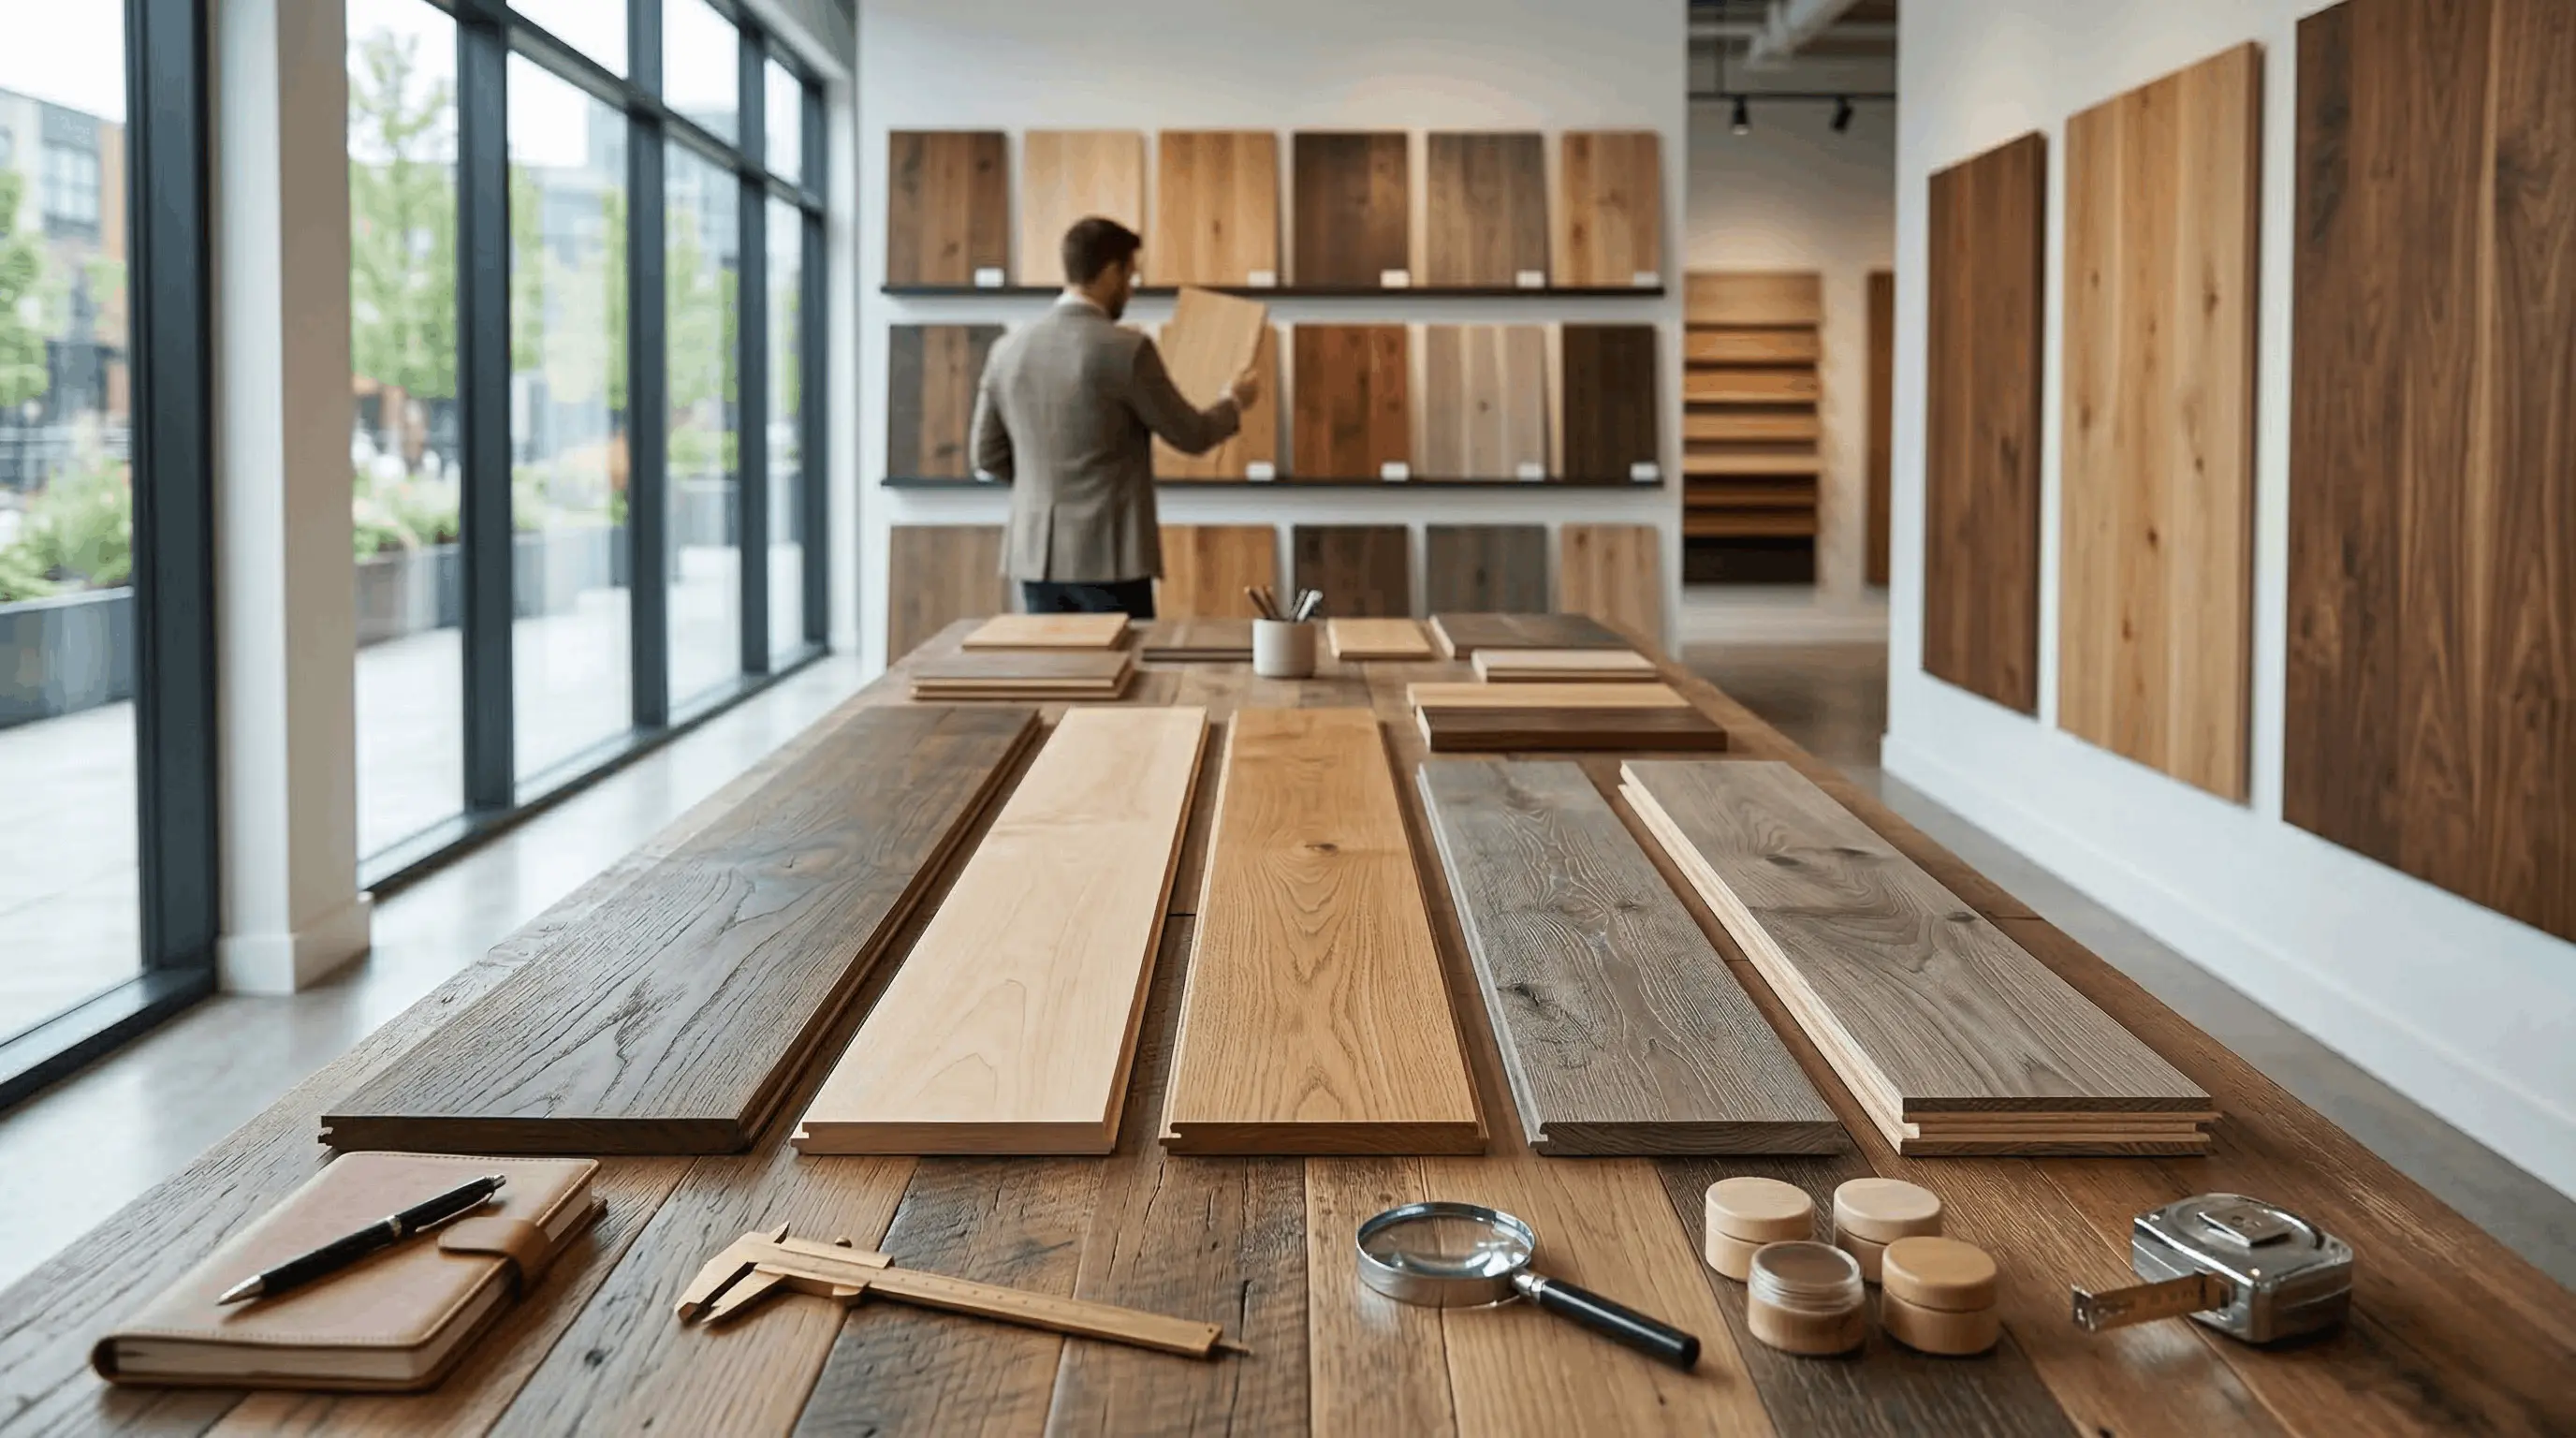
The Complete Guide to Hardwood Flooring in 2025
Everything you need to know about choosing, installing, and maintaining hardwood floors. From species selection to cost breakdowns.

Bamboo vs Hardwood Flooring: Which Is Right for You?
A detailed comparison of bamboo and traditional hardwood flooring covering durability, cost, eco-friendliness, and maintenance.